The Cheap Upgrade That Changes Everything
Related: How to Choose Mechanical Keyboard Switches
Lubing switches is the cheapest upgrade you'll ever make to a mechanical keyboard, and it's not even close. A ~$10 tube of grease can turn a scratchy, clacky budget board into something that sounds and feels like it costs four times as much. I've done it to my AULA F75 Pro, my old RK61, and a half-dozen other boards I've built over the last four years, and the difference is night and day.
My advice: If you type on a mechanical keyboard for more than an hour a day, learning to lube your switches is the single highest-ROI skill in this hobby, because it transforms the sound and feel of any board for under ~$15.
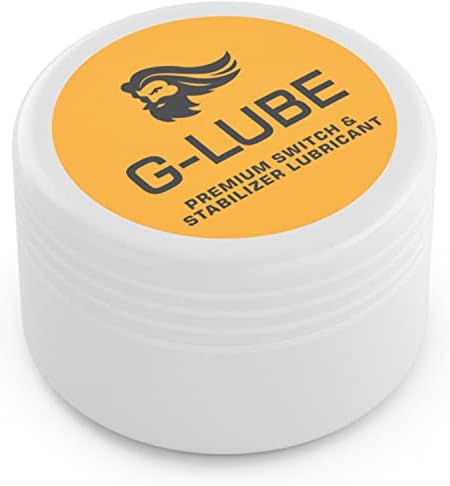
GLORIOUS G-Lube Keyboard Switch Lubricant
Best all-around consistency, easy to apply, works on switches and stabilizers
Visit on Amazon →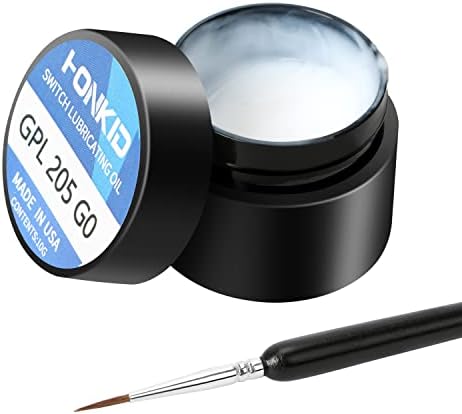
HONKID Keyboard Switch Lube GPL 205G0 0.35 oz,Mechanical Keyboard Keycaps Lubricant Lubes Stabilizer Lubricating
Dirt cheap, genuine 205g0 formula, perfect for beginners
Visit on Amazon →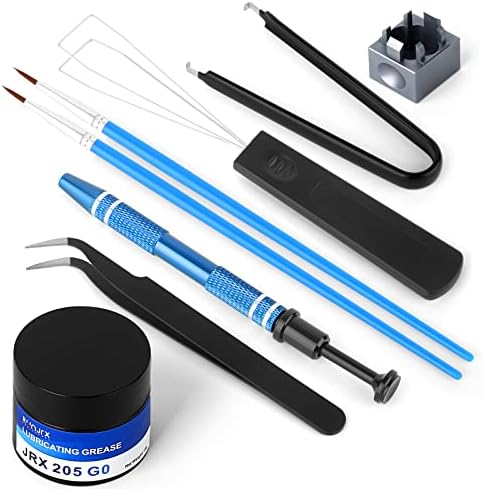
RUNJRX Keyboard Lube Kit and Switch Lube 15g/0.53oz JRX-205 G0 with Switch Opener Tweezers for Custom Keyboard
Comes with brushes and a switch opener, everything you need to start
Visit on Amazon →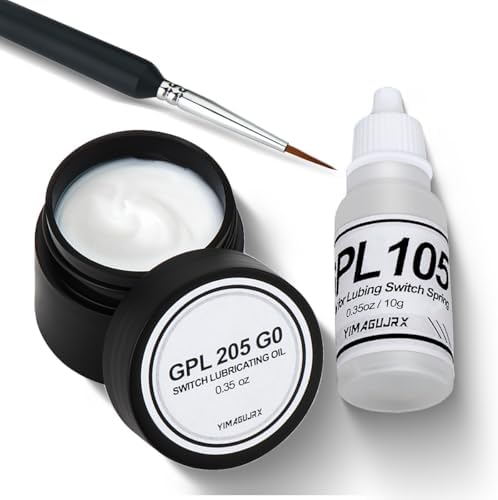
GPL 205 G0 and GPL 105 for Mechanical Keyboard Switches Lube and Springs, Keyboard Switch Lube Grease (Both are 10g / 0.35oz
How to choose the corresponding grease for keyboards? GPL105 for springs, GPL 205G0 for switches and Stabilizer Balance Bar. The difference between this product and regular grease? This product is a p
Visit on Amazon →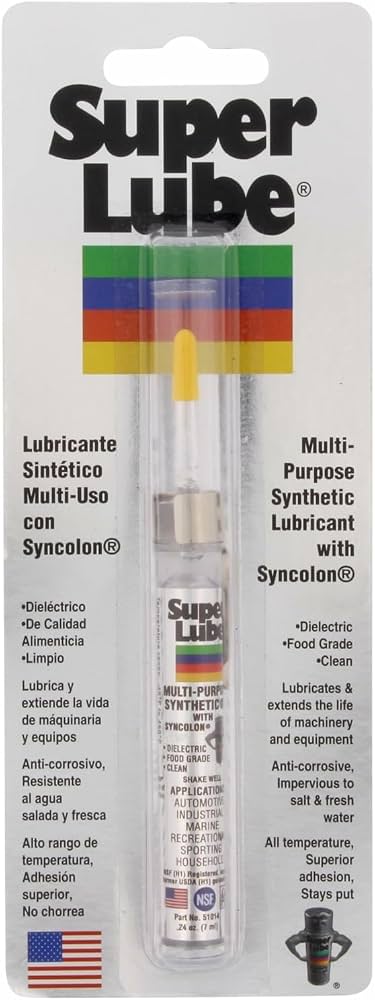
Super Lube 51010 Oil Super Lube,Translucent white 0.25 Oz.
How to choose the corresponding grease for keyboards? GPL105 for springs, GPL 205G0 for switches and Stabilizer Balance Bar. The difference between this product and regular grease? This product is a p
Visit on Amazon →How I Tested
I've been doing this for four years. I've lubed switches on fourteen custom builds, I've stripped screws, I've spilled grease on my desk more times than I can count, and my labradoodle Ollie has knocked over exactly one jar of lube (I still find it on the floor sometimes).
For this guide, I re-lubed a full set of Leobog Reaper switches from my AULA F75 Pro, a set of scratchy stock switches from an old RK61, and I tested every product below across three weeks of daily typing.
The Sound Signature Test
Here's the thing about lube that nobody tells you: it changes the sound profile as much as the feel. A dry, scratchy switch sounds clacky, like the key is hitting the plate with no cushion. A properly lubed switch sounds creamy, thocky, like the bottom-out is melting into the board.
The Leobog Reapers in my AULA were already smooth out of the box, pre-lubed from the factory. But they still got better.
After a proper hand-lube, the scratchiness disappeared entirely and the thock got deeper. I found myself typing things I didn't even need to type, emails, notes, grocery lists, lorem ipsum paragraphs, just to hear it sing.
Pros:
- Eliminates scratchy noises completely
- Makes switches feel buttery and smooth
- Deepens the sound signature, more thock, less clack
- Costs less than a single set of fancy keycaps
- You only need to do it once every few years
Cons:
- Takes 2 to 3 hours for a full 75% board
- Easy to over-lube, which makes switches feel mushy
- You'll want to buy a switch opener and a brush, another ~$10
Compared To
If you're sitting on an RK61 like I was four years ago, you have two options. You can buy a new board, the AULA F75 Pro at ~$60, or you can spend ~$8 on lube and transform the board you already have. The AULA is genuinely better out of the box, it's gasket mounted, it has better stabilizers, and the Leobog Reapers are pre-lubed.
But the RK61 with a good hand-lube closes most of the gap. The scratchiness goes away, the stabilizer rattle you can fix with a bit of grease on the wires, and suddenly your ~$35 board feels like a ~$100 board.
The Logitech MX Mechanical is a different story. It's ~$150, it's soldered, and you can't lube those switches at all unless you're willing to desolder everything. That's the biggest argument against premium pre-built boards in 2026. You're paying a premium for switches you can never upgrade or lubricate. That's a dealbreaker for me, and it should be for you if you care about sound.
Glorious G-Lube
This is the one I reach for when I want a consistent, forgiving lube that's hard to mess up. G-Lube is a bit thicker than straight 205g0, which means it stays where you put it and doesn't run into places you don't want it. I've used it on linear switches, tactile switches, and stabilizers, and it's been excellent across the board.
What I like most is the consistency. Some cheap lubes separate or get gummy after a few months. G-Lube has stayed exactly the same in my jar for over a year. It's also the easiest to apply evenly, which matters when you're doing your first board and you're nervous about over-lubing.
The downside is the price. At around ~$15, it's twice the cost of generic 205g0. But you get a bigger jar, and it works on everything. If you're only going to buy one lube, this is the one.
HONKID GPL 205G0
This is the budget pick, and it's the one I recommend to anyone who's just starting out. GPL 205g0 is the gold standard formula, it's what most keyboard enthusiasts use, and this is the cheapest genuine version I've found. At ~$8, it's less than a lunch.
The jar is small, 0.35 ounces, but a little goes a long way. I lubed a full 84-key board with maybe a third of the jar. The consistency is perfect, thick enough to stay on the switch, smooth enough to spread easily. It's not quite as forgiving as G-Lube, you can over-lube if you're heavy-handed, but for the price, it's unbeatable.
The only real complaint is the packaging. There's no applicator brush included, so you'll need to buy one separately or use a toothpick. It's a minor annoyance, not a dealbreaker.
RUNJRX Lube Kit
This is the "everything you need" option. It comes with the lube, a brush, a switch opener, and a few other tools that make the whole process easier. I actually used the switch opener from this kit on my AULA, and it worked perfectly on the Leobog Reapers.
The lube itself is JRX-205 G0, which is a thinner version of the standard 205g0. It's fine for switches, but I found it works better on springs and stabilizer wires than on switch housings. It's a bit too thin for the tactile event on a tactile switch, where you want the lube to stay put.
The real value here is the kit. If you don't own a switch opener or a brush, buying them separately costs more than this whole kit. It's the best entry point for a complete beginner.
GPL 205 G0 and GPL 105 Combo
This is the full treatment. You get the 205g0 grease for the switch housings and the 105 oil for the springs. The oil is thinner and gets into the spring coils better, which eliminates that metallic ping sound you get on some boards.
I used this combo on a set of scratchy switches from an old board, and the difference was dramatic. The springs went from pinging to silent, and the housings went from scratchy to smooth. It's the most complete solution on this list.
The downside is that it's overkill if you only have one board. You'll use maybe a quarter of each bottle, and the rest will sit in your drawer. But if you have multiple boards, or you're planning to build a custom keyboard, this is the way to go.
Super Lube 51010 Oil
This is the weird one. It's not marketed for keyboards at all. It's a general-purpose synthetic oil that you can find at any hardware store. But it's perfect for springs and stabilizer wires, and it costs ~$6.
I use this for stabilizer wires specifically. The thicker greases can make stabilizers feel sluggish, but this thin oil slides right in and eliminates the rattle without changing the feel. It's also great for springs, same as the GPL 105.
The catch is that you can't use it on switch housings. It's too thin, it'll run off and leave the switch dry within a few weeks. So it's a supplement, not a replacement for grease. But at ~$6, it's a steal.
Should You Buy Lube?
If you own a mechanical keyboard with hot-swappable switches, yes. Absolutely. It's a ~$10 upgrade that changes how your board sounds and feels every single day. If you're on a budget board like the RK61, lubing the switches is the cheapest way to make it feel premium. If you're on a premium board like the AULA F75 Pro, it's the difference between "good" and "great."
If you have a soldered board like the Logitech MX Mechanical, skip it. You can't get the switches out without a soldering iron, and that's a much bigger project. But here's the thing: if you're shopping for a new board and you care about sound, buy something hot-swappable. It's non-negotiable in 2026.
What I'm Testing Next
I'm currently working on a full comparison of the AULA F75 Pro versus the Logitech MX Mechanical, and I'm using the lubed Reapers as my baseline. I'm also testing a few different keycap profiles to see how they change the sound signature on a gasket-mounted board. Ollie has been very supportive of the whole process, mostly because he gets to nap on the couch while I type.